Creating Documents
Create documents for drivers to fill out or submit documents on a driver's behalf
Overview
The Create a document endpoint allows you to perform two main actions:
- Create a document for a driver to fill out in the Driver App
- Submit a document on a driver's behalf
Document State
A document's state determines if it is created for a driver to fill out in the Driver App or if the document is submitted on behalf of the driver.
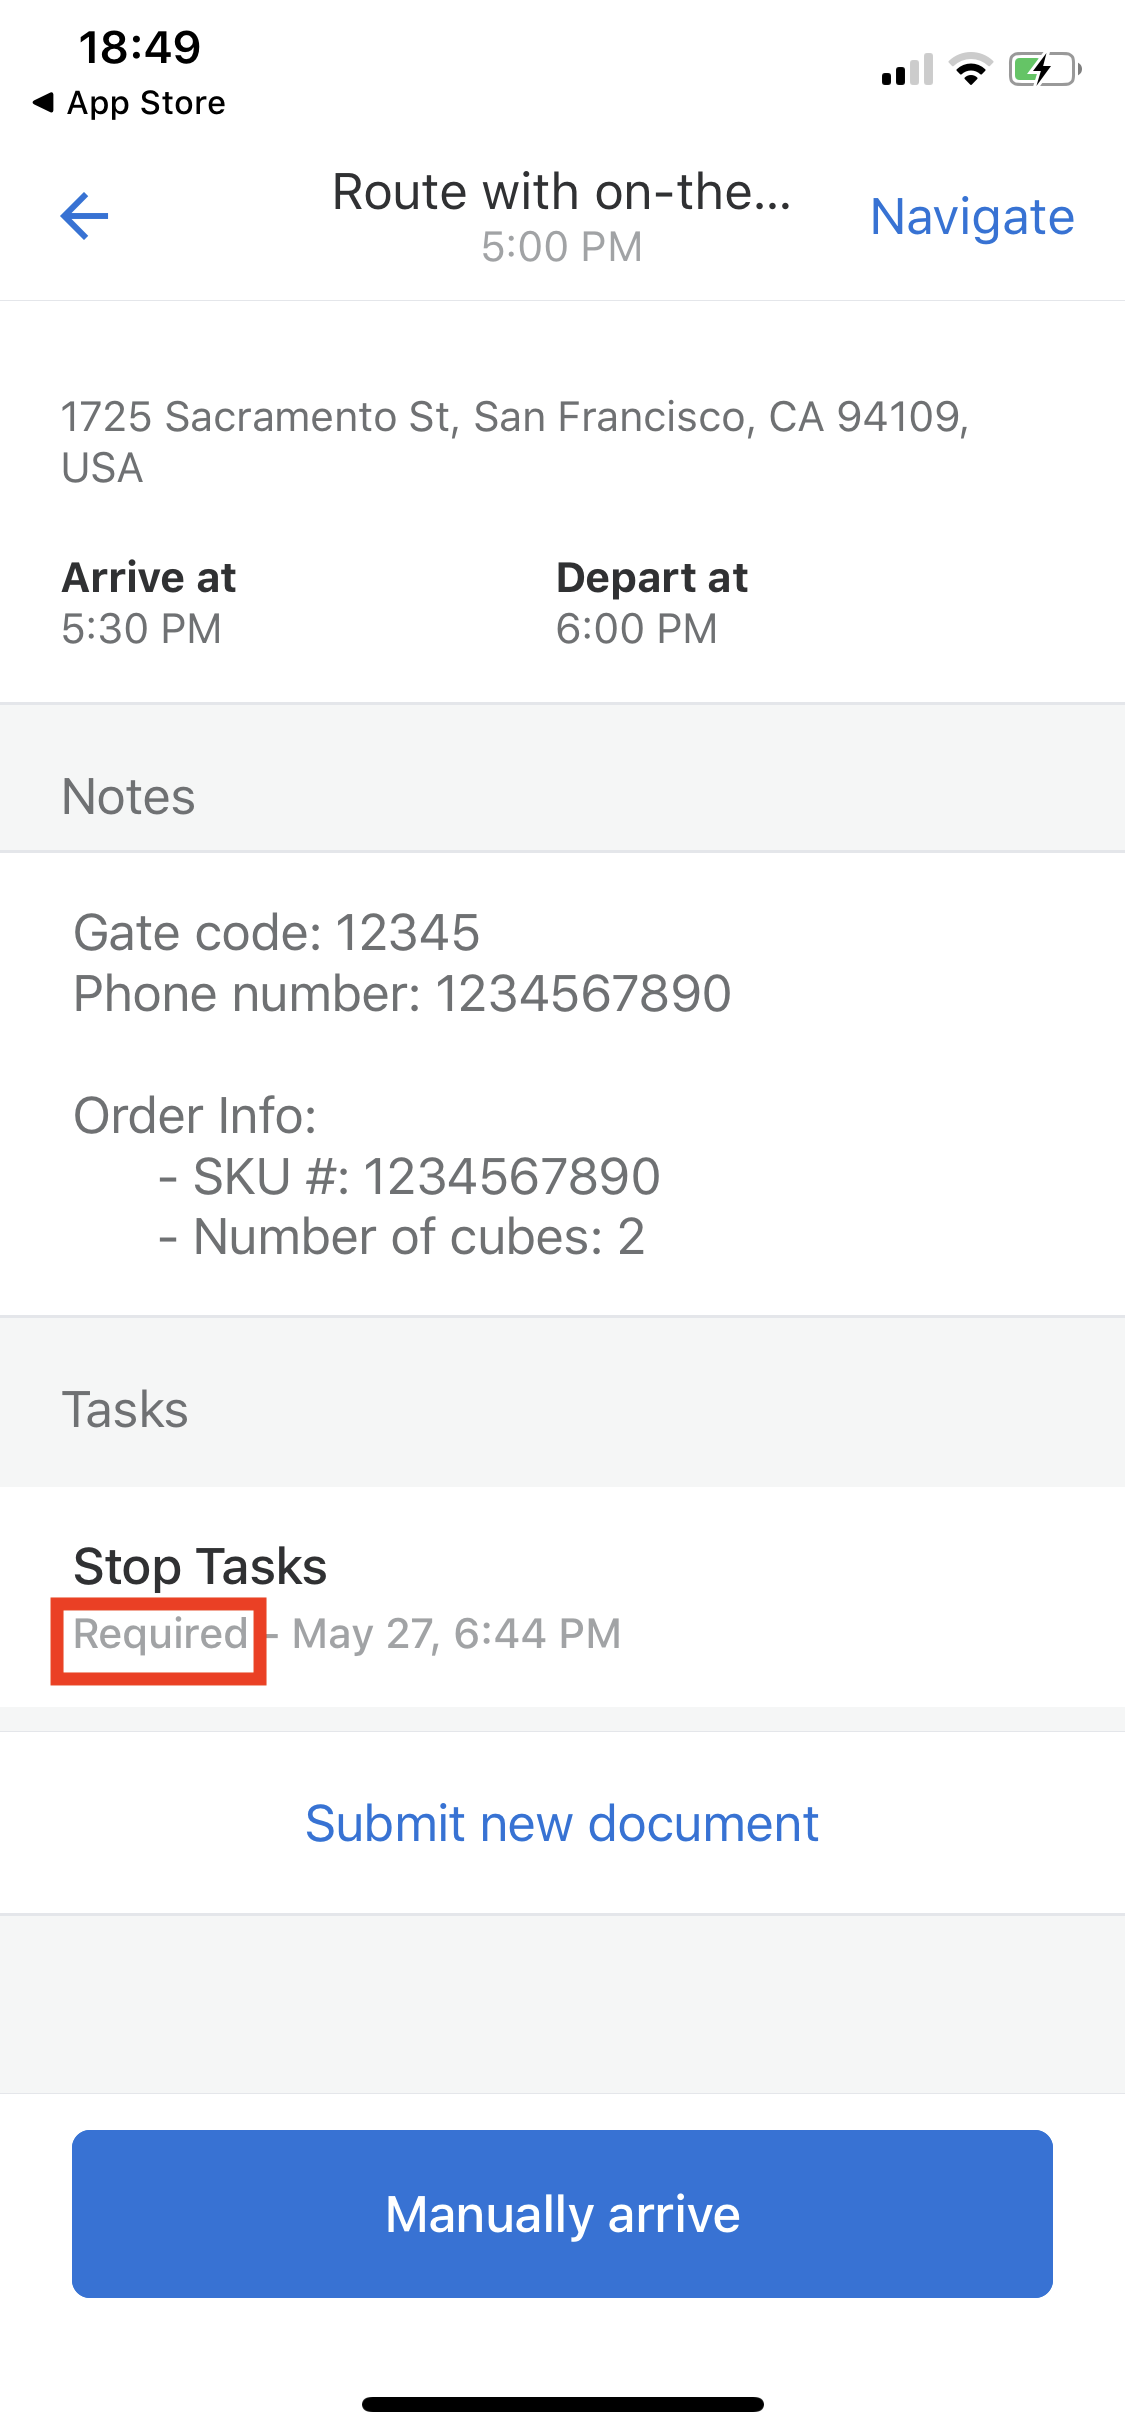
Setting a document's state to Required creates a document for the driver to fill out in the Driver App. The most common use case for this is Creating Stop Tasks in Routes. The document will be marked as "Required" in the Driver App.

"Required" document attached to a route stop
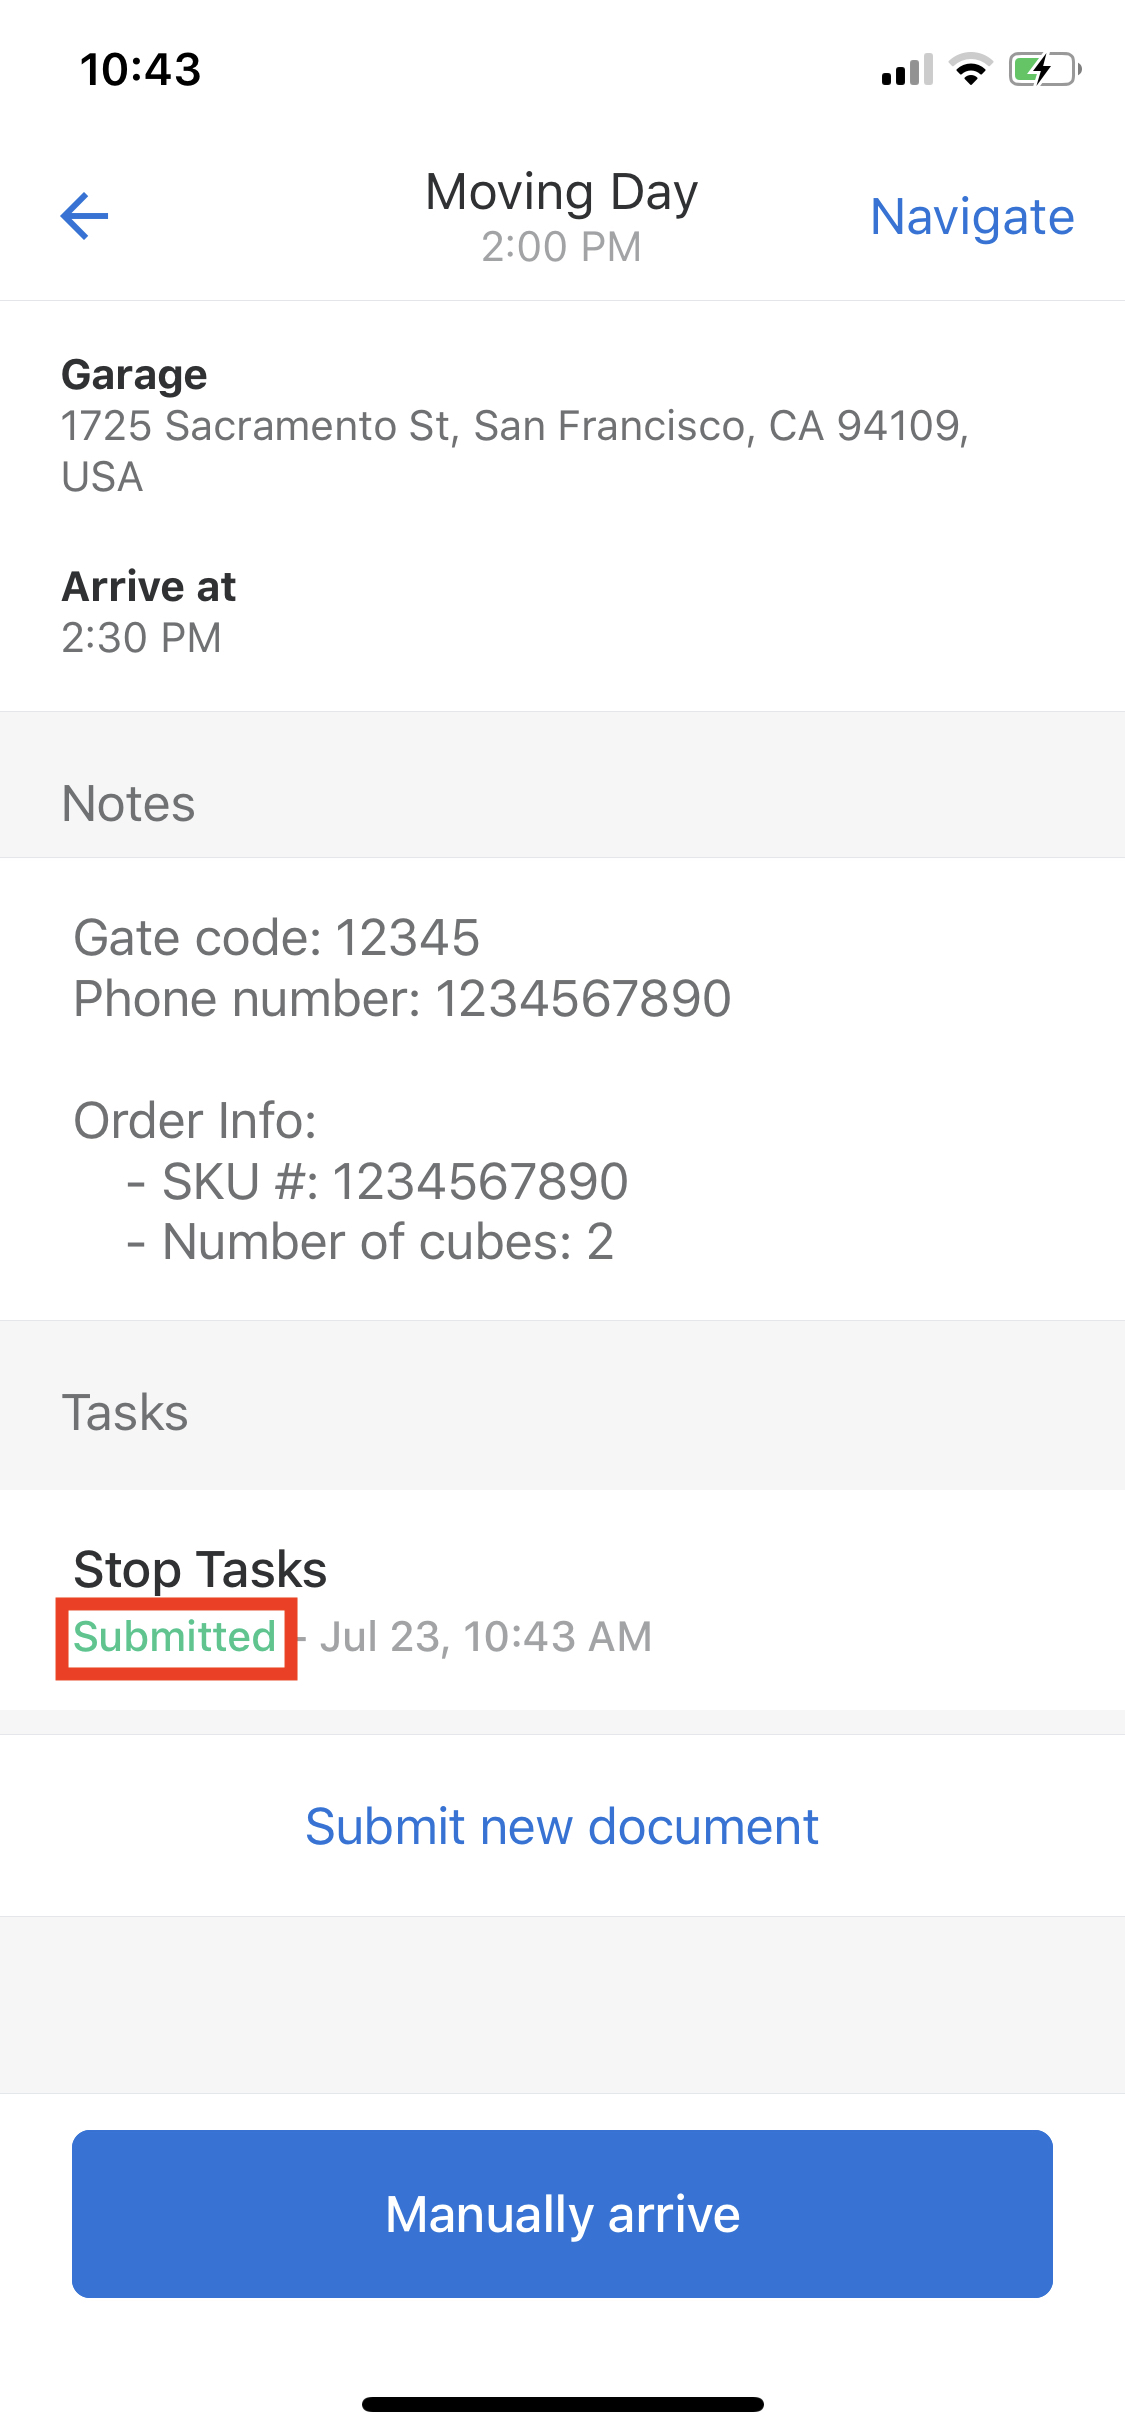
Setting a document's state to Submitted will submit the document on behalf of the driver. A fleet admin will then be able to view the document in the Samsara Dashboard. It will appear as if the driver submitted the document from the Driver App.

"Submitted" document attached to a route stop
See below for details on how to set a document's state in the API request.
The state field defaults to Required.
Create Document Request
The Create a document endpoint allows you to create or submit a document for a given driver denoted by the driver_id in the URL path. For example:
curl --request POST 'https://api.samsara.com/fleet/documents' \
--header 'Authorization: Bearer <<token>>' \
--header 'Content-Type: application/json' \
--data-raw '{
    "documentTypeUuid": "abc-123",
    "driverId": "123456"
    "fields": [ ... ]
}'
The table below describes the properties available for the document creation request.
| Field | Description |
|---|---|
documentTypeUuid | The UUID of the Document Type that describes the template for this document. |
name | An optional name for this document. |
fields | The fields for this document. This will either define default values or provide values that are submitted on behalf of the driver. |
state | Valid values are: Required or Submitted. Defaults to Required. See Document State below for more details. |
dispatchJobId | The ID of a route stop if you want to associate this document with a particular route stop. See Creating Stop Tasks for more details. |
notes | Optional notes for the document. |
Defining Fields
The fields array of the document creation request should list fields and values in the same order they appear in the Document Type for the given document.
For example, let's say we want to create a document like this:
Document in the Driver App
We would need to list the fields in the order they appear for the "Stop Tasks" document type. This can be retrieved using the Document Types API. In this case, we would list the Load # field first, then the Did you drop the trailer? field, and so on and so forth.
Here's an example JSON request body to create a document using the document type pictured above. The UUID would be retrieved from the Document Types API.
{
  "documentTypeUuid": "abc-123",
  "state": "required",
  "fields": [
    {
      "type": "string",
      "label": "Load #"
    },
    {
      "type": "multipleChoice",
      "label": "Did you drop the trailer?"
    },
    ...
  ]
}
When field values are left blank (as in the example above), they will assume a default value.
If a document is in the Required state (as in the example above), then the driver can fill out the values through the driver app.
If a document is in the Submitted state, then the document will contain default values for any fields left blank.
See the sections below for details on setting field values and defaults for different field types.
Field Values
All fields have the following properties:
label- This is the same as thelabeldefined by the given document type. For example,"Load #","Did you drop the trailer?", etc.type- This is the type of the field as defined by the given document type. Valid values include:photostringnumbermultipleChoicesignaturedateTimescannedDocumentbarcode
- The actual value for the field. This property can be omitted if you wish for the field to assume a default value (most commonly done for documents in the
Requiredstate).
String Fields
Example:
{
   "type": "string",
   "value": {
        "stringValue": "Test123"
    },
    "label": "Load #"
}
Default if stringValue is omitted: ""
Multiple Choice Fields
Example:
{
      "type": "multipleChoice",
      "value": {
        "multipleChoiceValue": [
          {
            "selected": true,
            "value": "Yes"
          }
        ]
      },
      "label": "Did you drop the trailer?"
}
The multipleChoiceValue property is an array representing which option of the multiple-choice field is selected.
The options are described by the multipleChoiceFieldTypeMetaData in the document's Document Type.
An option's value is the name of that option, and selected indicates whether that option is selected. (values map to labels in the multipleChoiceFieldTypeMetaData).
Only one option may be selected. If an option is not selected, it may be omitted.
Default if multipleChoiceValue is omitted: []. This means none of the options were selected.
Number Fields
Example:
{
      "type": "number",
      "value": {
        "numberValue": 12
      },
      "label": "# of pieces"
}
The number of decimal places supported by the field is described by the numberFieldTypeMetaData in the document's Document Type.
Default if numberValue is omitted: 0
Datetime Fields
Example:
{
      "type": "dateTime",
      "value": {
        "dateTimeValue": {
          "dateTime": "2023-09-08T02:53:53Z"
        }
      },
      "label": "Time unloaded"
}
dateTime is measured in RFC 3339 format.
dateTimeValuecannot be omitted. If you wish to set this field to a default value, you must submit:"dateTimeValue": {}
Default if dateTimeMs is omitted: 0. (Will appear as if the field was left blank).
Photo Fields
Photos cannot be submitted via the API. The value for a photo field must be left blank. Example:
{
      "type": "photo",
      "label": "Unload Picture"
}
When a document is in the Required state, the driver will be able to submit photos for the document through the Driver App.
Signature Fields
Signatures cannot be submitted via the API. The value for a signature field must be left blank. Example:
{
      "type": "signature",
      "label": "Consignee"
}
When a document is in the Required state, the driver will be able to capture a signature for the document through the Driver App.
Updated 4 months ago
